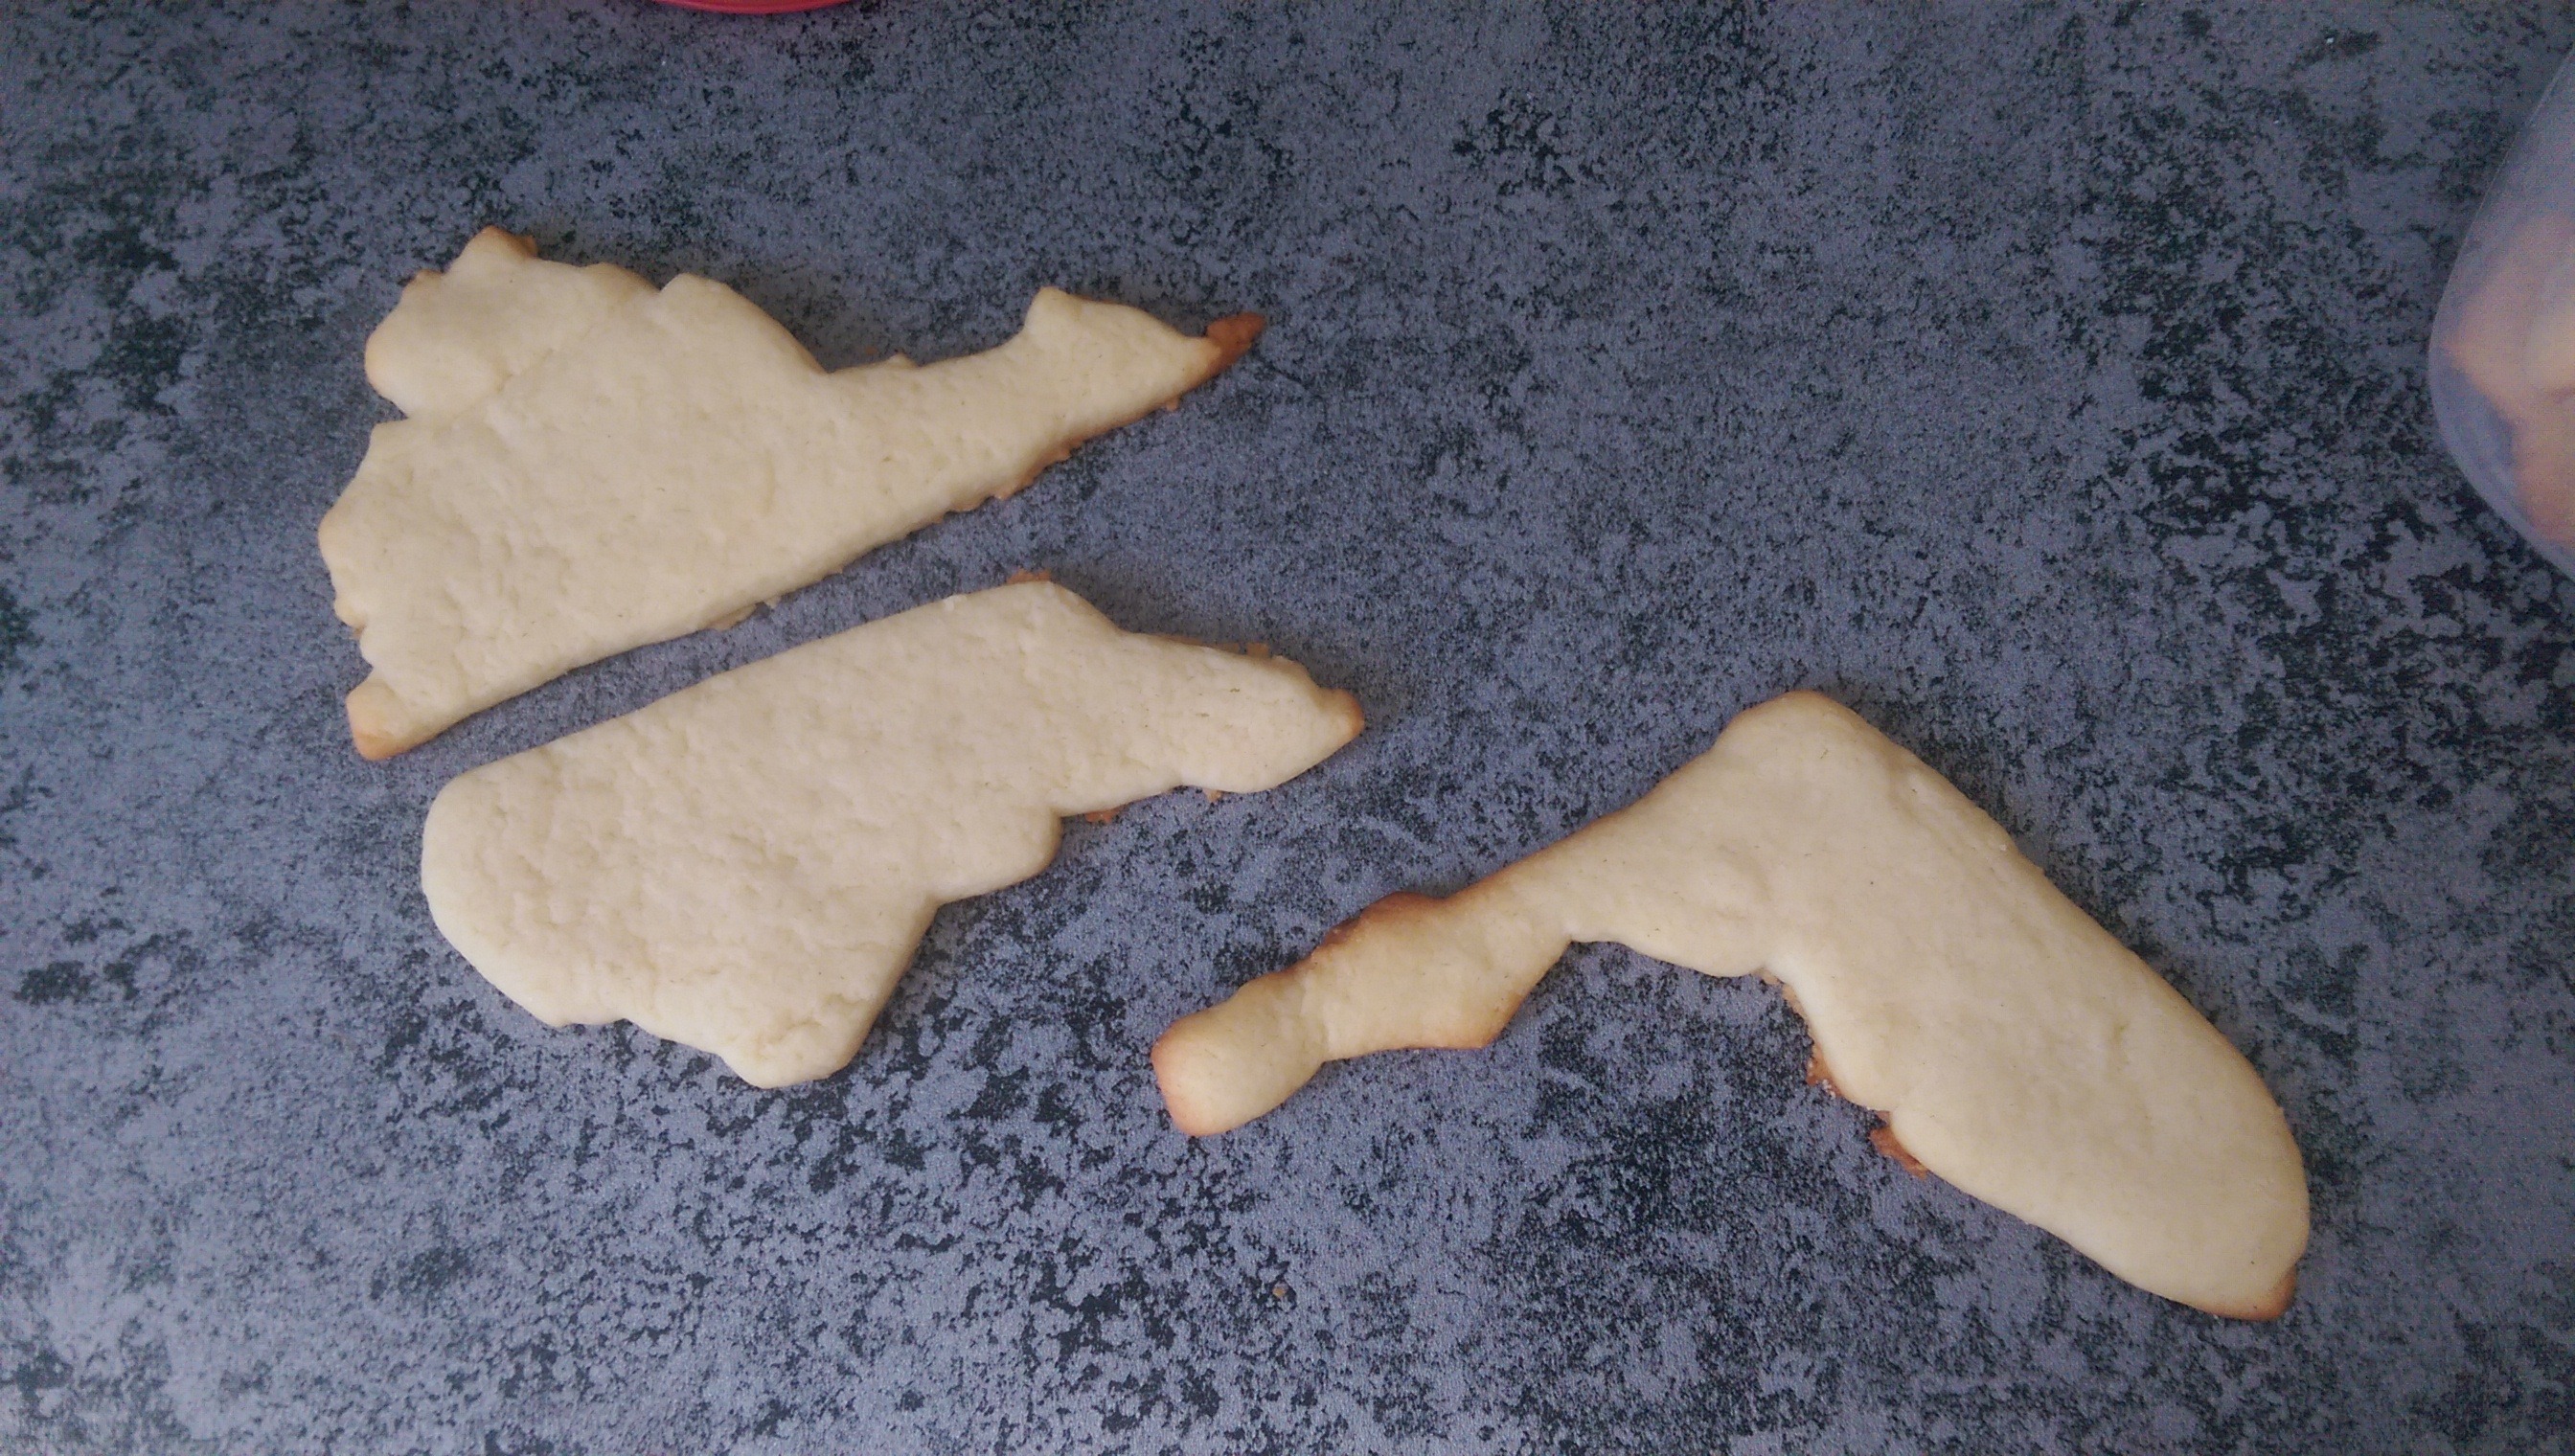
On election night, my wife and I were invited to watch the results come in with some friends. We wanted to do something fun for the party, and we came up with the idea of baking cookies in the shape of the swing states and putting red or blue icing on them as the states are called. The only problem was that tin cookie cutters are $5 each, which means to do even the most popular eight states would cost $40. Luckily, we recently bought a 3D printer at Smashing Boxes, meaning I could print some cookie cutters with about two dollars worth of plastic. The only thing missing was the design files, but we came up with a quick and easy way to make cookie cutters of any shape that I wanted to share with anyone who is interested.
What You'll Need
- A picture of the shape that you would like to make. Remember that cookies will flow outwards when they are baked, so shapes with less detail work best.
- A 3D Printer and Filament. We have a Lulzbot 6 here at Smashing Boxes, but just about anything will work; these don't need to be very high resolution and they will not use support material.
- Autodesk Fusion 360. We are a big fan of Fusion 360 because of its incredible functionality, the amount of tutorials for it online, and the free license for makers and hobbyists. If you have any trouble following this tutorial, I would recommend checking out the Fusion 360 for Beginners Webinar by Autodesk first.
- Plastic Wrap. While PLA plastics are generally recognized as safe around food, the colors the plastic and the extruder itself may introduce some nasty stuff into the food. Better to be safe than sorry and just use some plastic wrap.
The Process
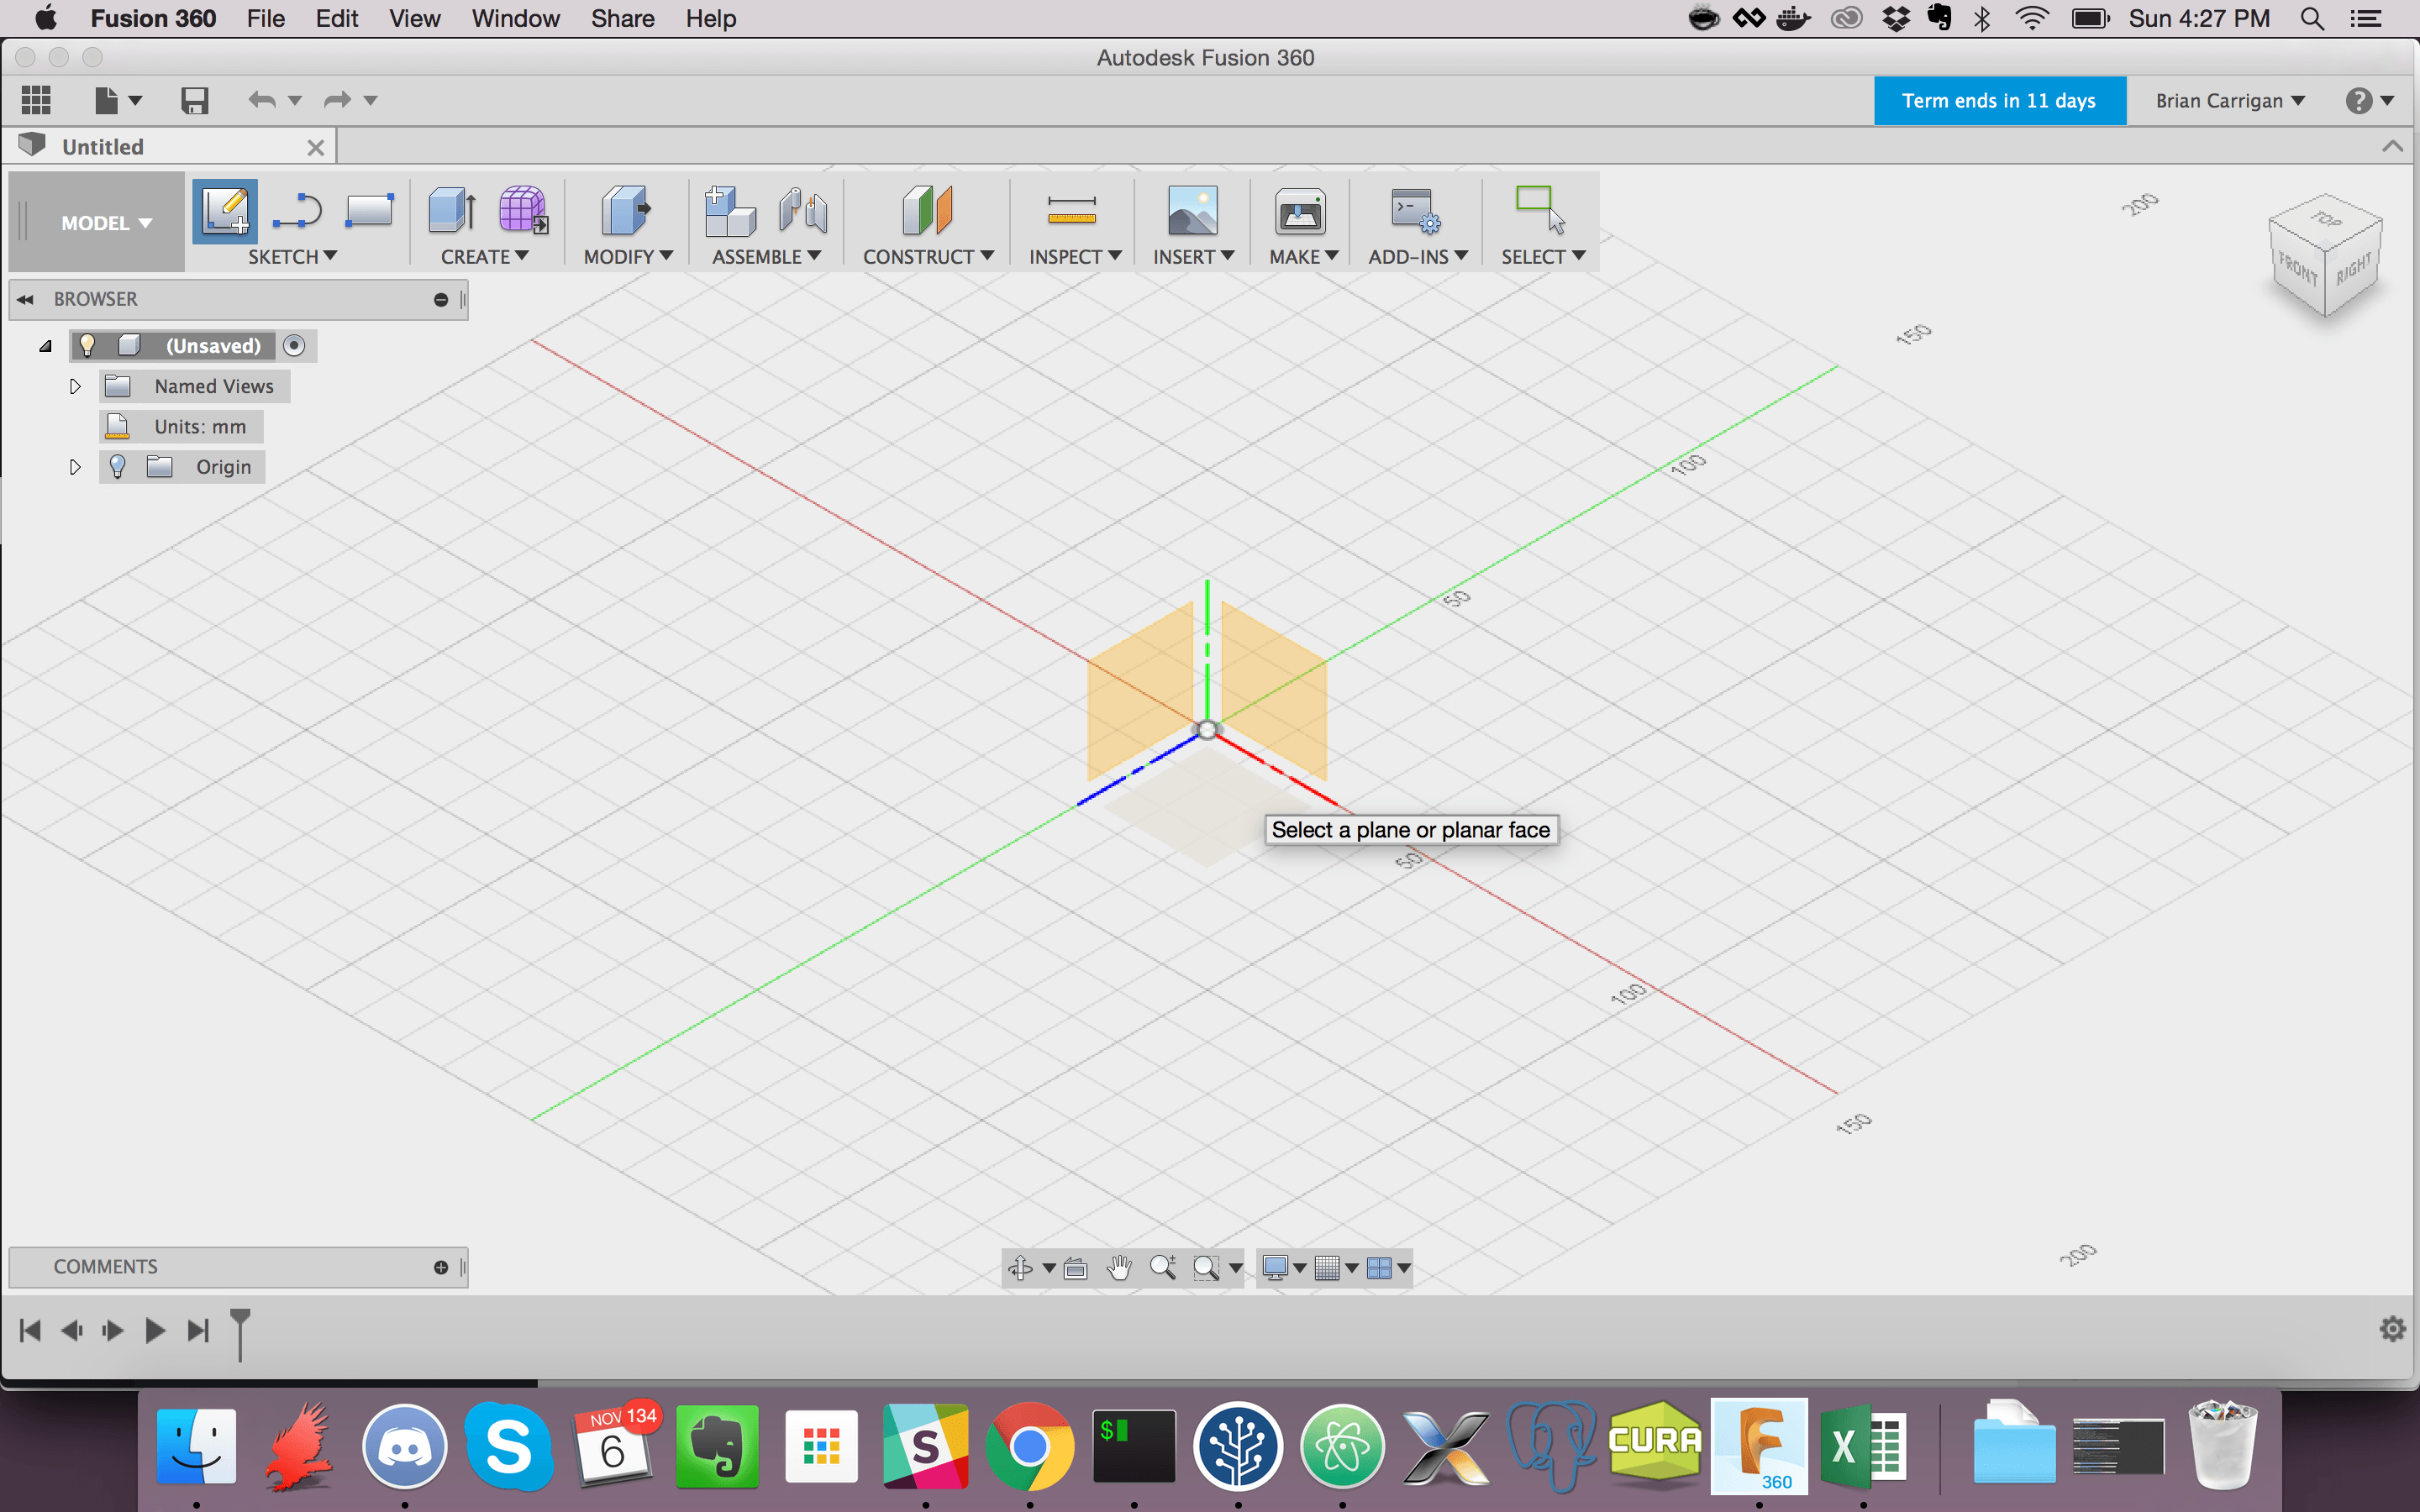
Once Fusion 360 is installed, open up a new design. We will start by creating a drawing guide using a scaled image of the shape you are making. Begin by creating a new sketch on the X-Z plane (the one with the grid).
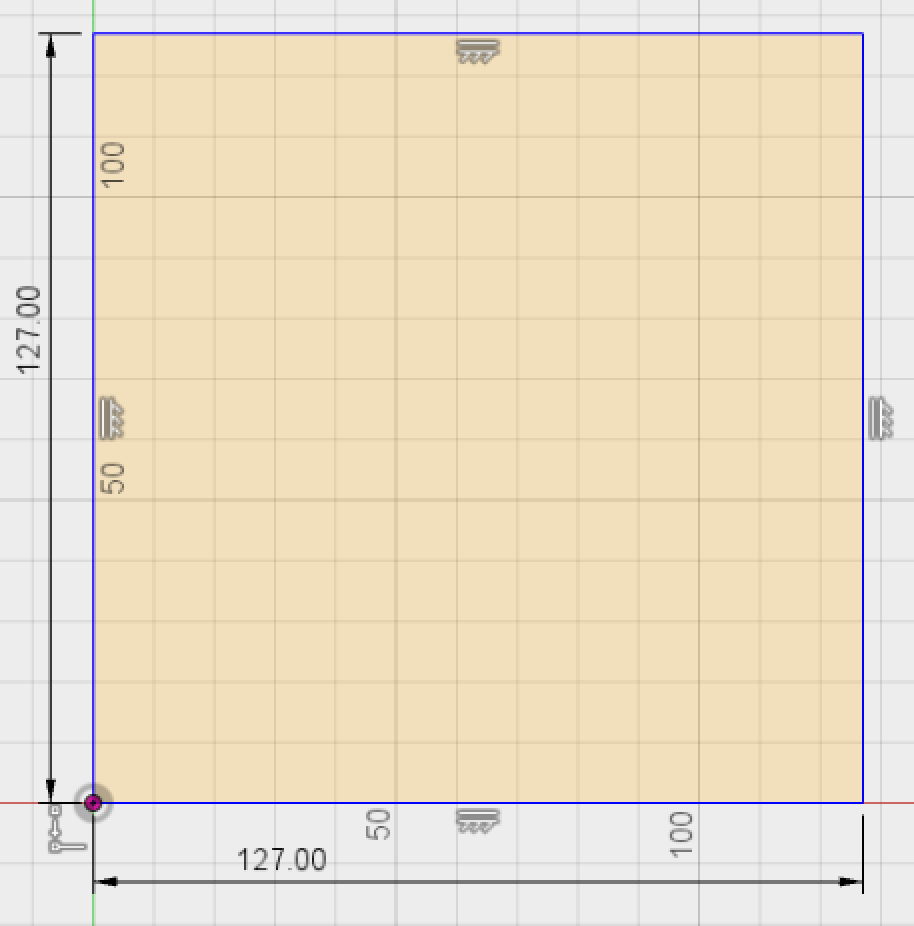
Draw a rectangle by clicking the 2 Point Rectangle button in the Sketch menu, and make it the size of the cookie you plan on making. Since a lot of the states we were making are kind of weirdly shaped, we went with 5 inches by 5 inches. You can make the rectangle the size that you want by either typing it in when you are creating it or by using the dimension tool.
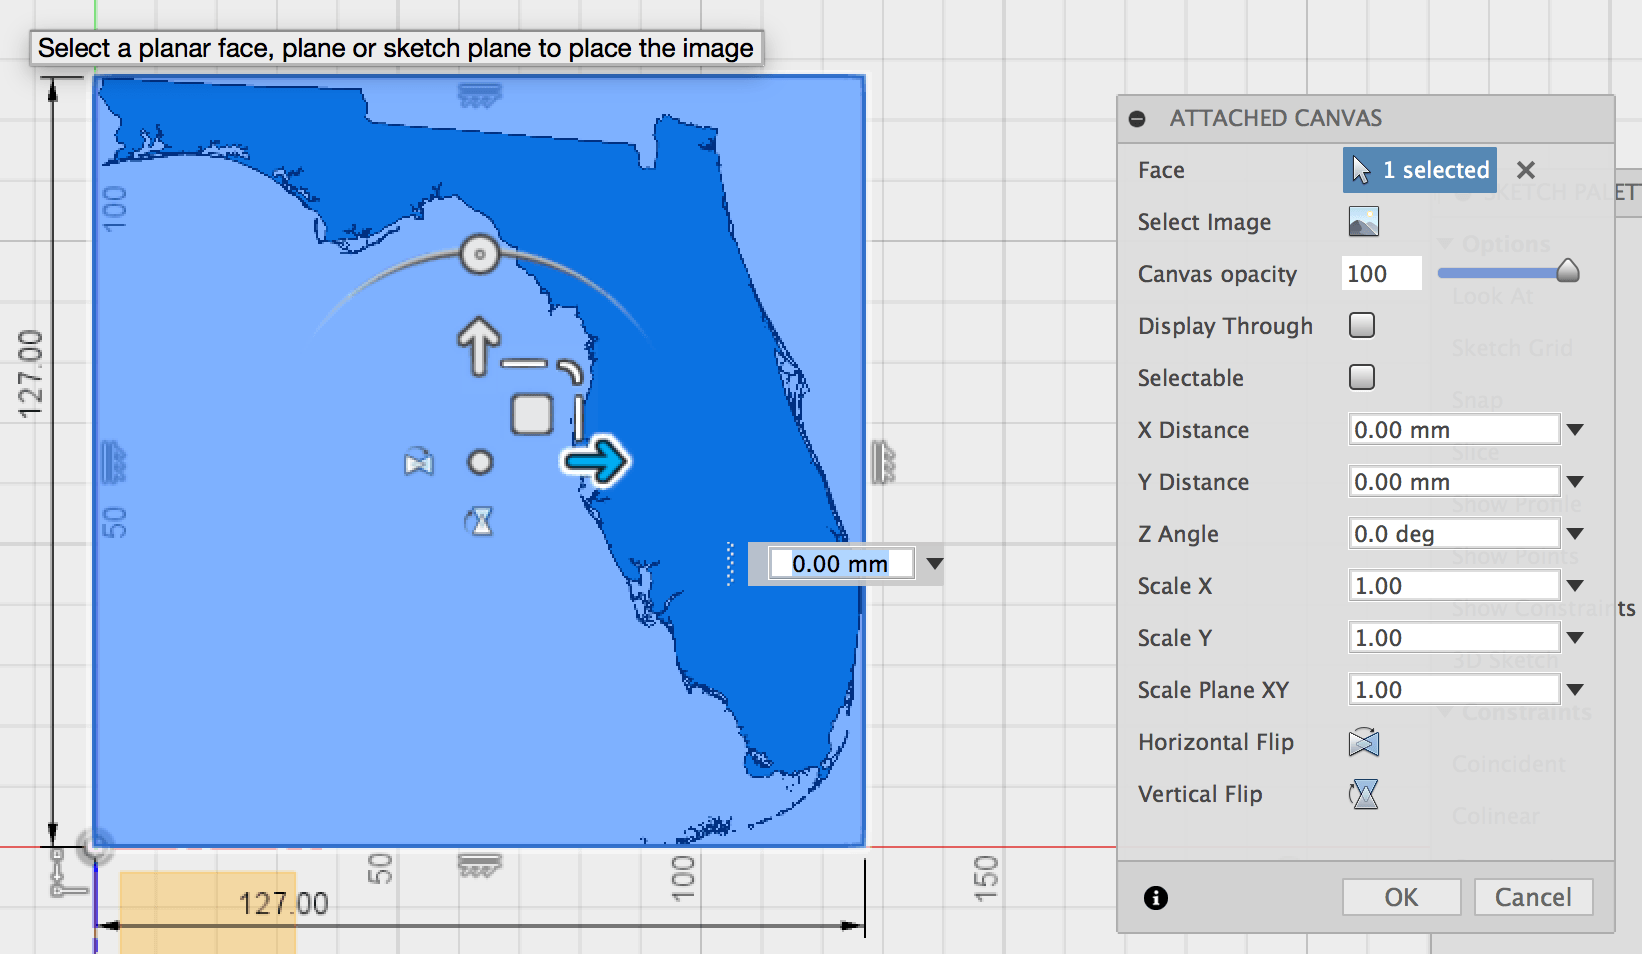
Next, finish the sketch by clicking on the Stop Sketch button of the Sketch Palette. We can add the image of our shape by clicking on the Attached Canvas option of the Insert toolbar. Fusion 360 will ask you to select a face (the rectangle that we just created) and an image (the image of your shape). Additional scaling options will appear that allow you to stretch the image if it doesn't take up the full box.
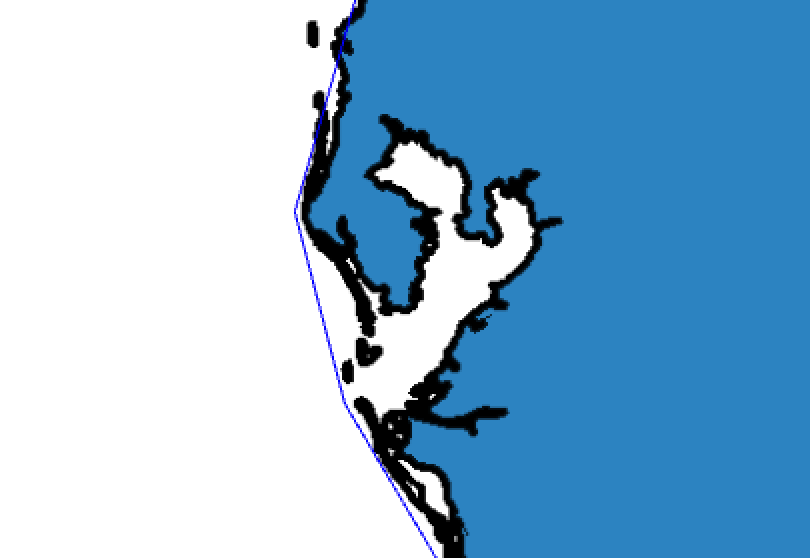
Our next task is to sketch the outline of our cookie cutter. To make sure our sketch tools don't snap to the original rectangle, hide the sketch of the rectangle using the model tree on the left. Start a new sketch on the same plane as the canvas using the Create Sketch option of the Sketch menu. In the Grid and Snaps menu at the bottom of the screen, turn off the option Snap to Grid. Now use the line and arc tool to draw an outline on your object with as much detail as you would like. It helps to zoom in a little bit so that the sketch tools do not try to constrain the angles or lengths of the lines you are drawing.
Once the outline is complete, you can hide the image canvas to make selecting easier. The sketch should be filled in to denote that the lines make an enclosed shape; if they are not enclosed, just fill in the gaps with new lines. Next, select the Offset tool from the Sketch menu and select the shape that you just made. Select an offset of 1.5mm away from your filled in object (whether this is positive 1.5mm or negative 1.5mm depends on which direction you drew the object). You should finish with a double outline of your object.
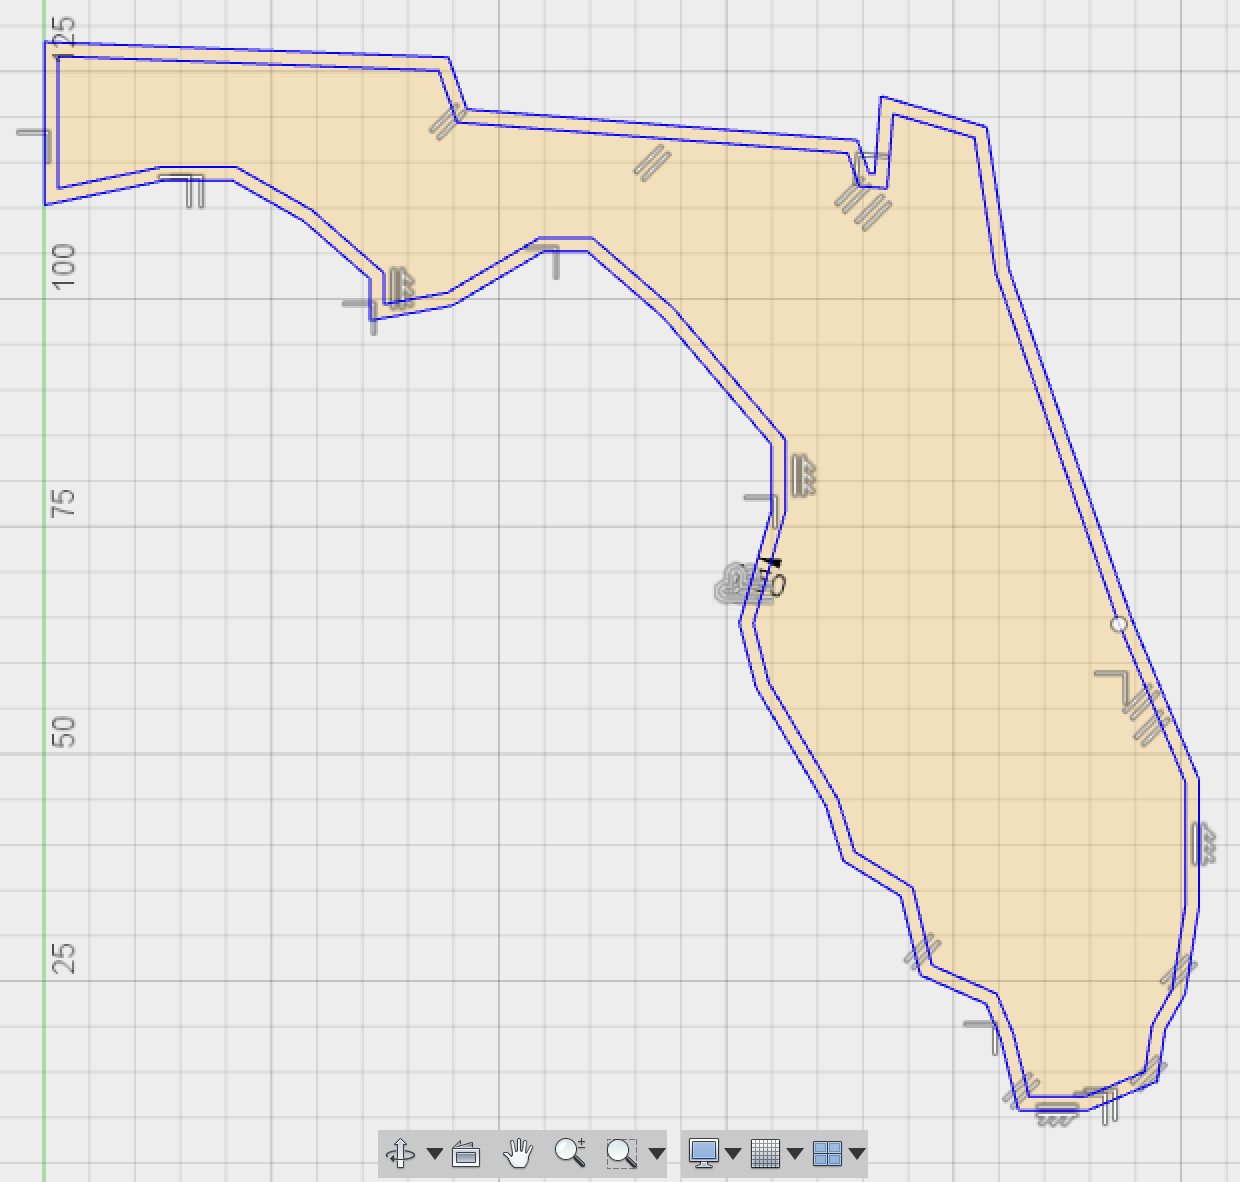
Finally, we want to extrude the slim area between the outlines as our cookie cutter. To do so, select the Extrude option under the Create menu. It will ask you for a profile (the slim area between objects) and a distance (0.8 inches seems to work well, though you can change this based on your needs). Click OK and your model will be complete.
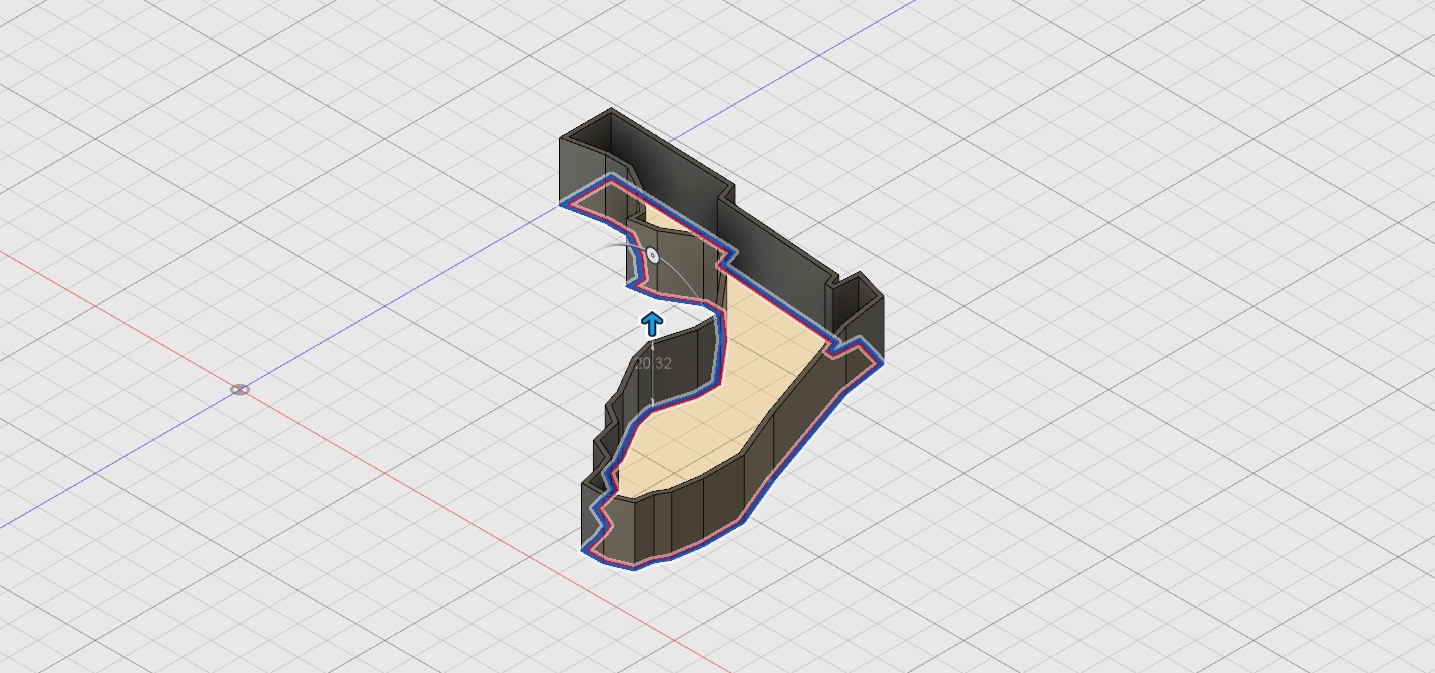
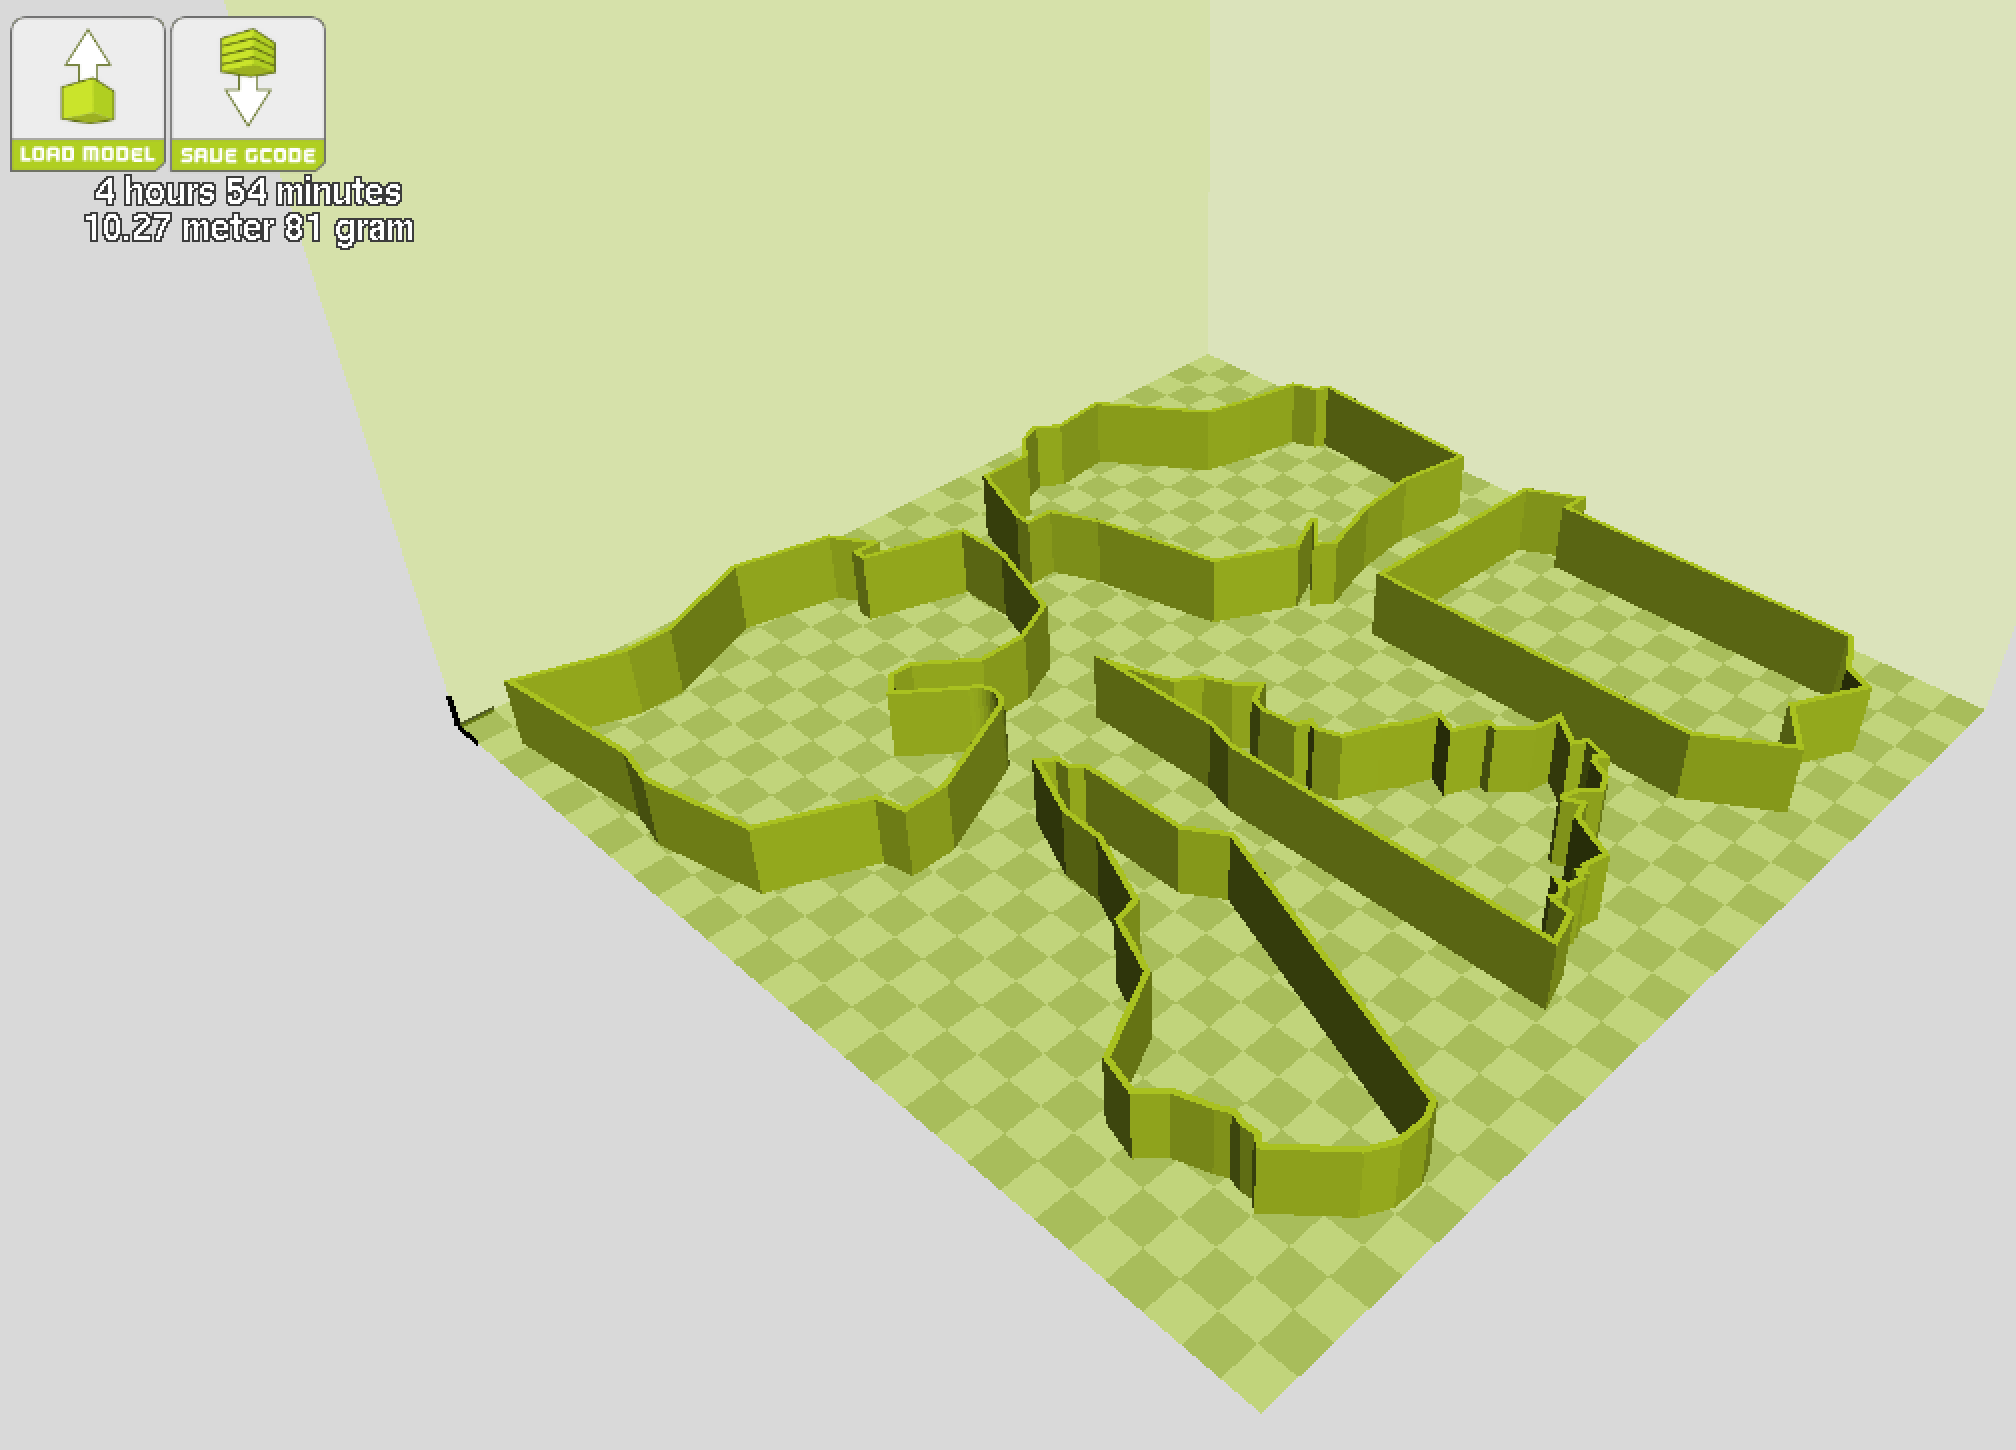
The last thing you will need to do is to export your model as an STL to be printed. The easiest way to do so is using the 3D Print option of the Make menu. With the Lulzbot 6, I was able to lay out many of these at once and it only took two prints to finish all of the states I wanted to print.
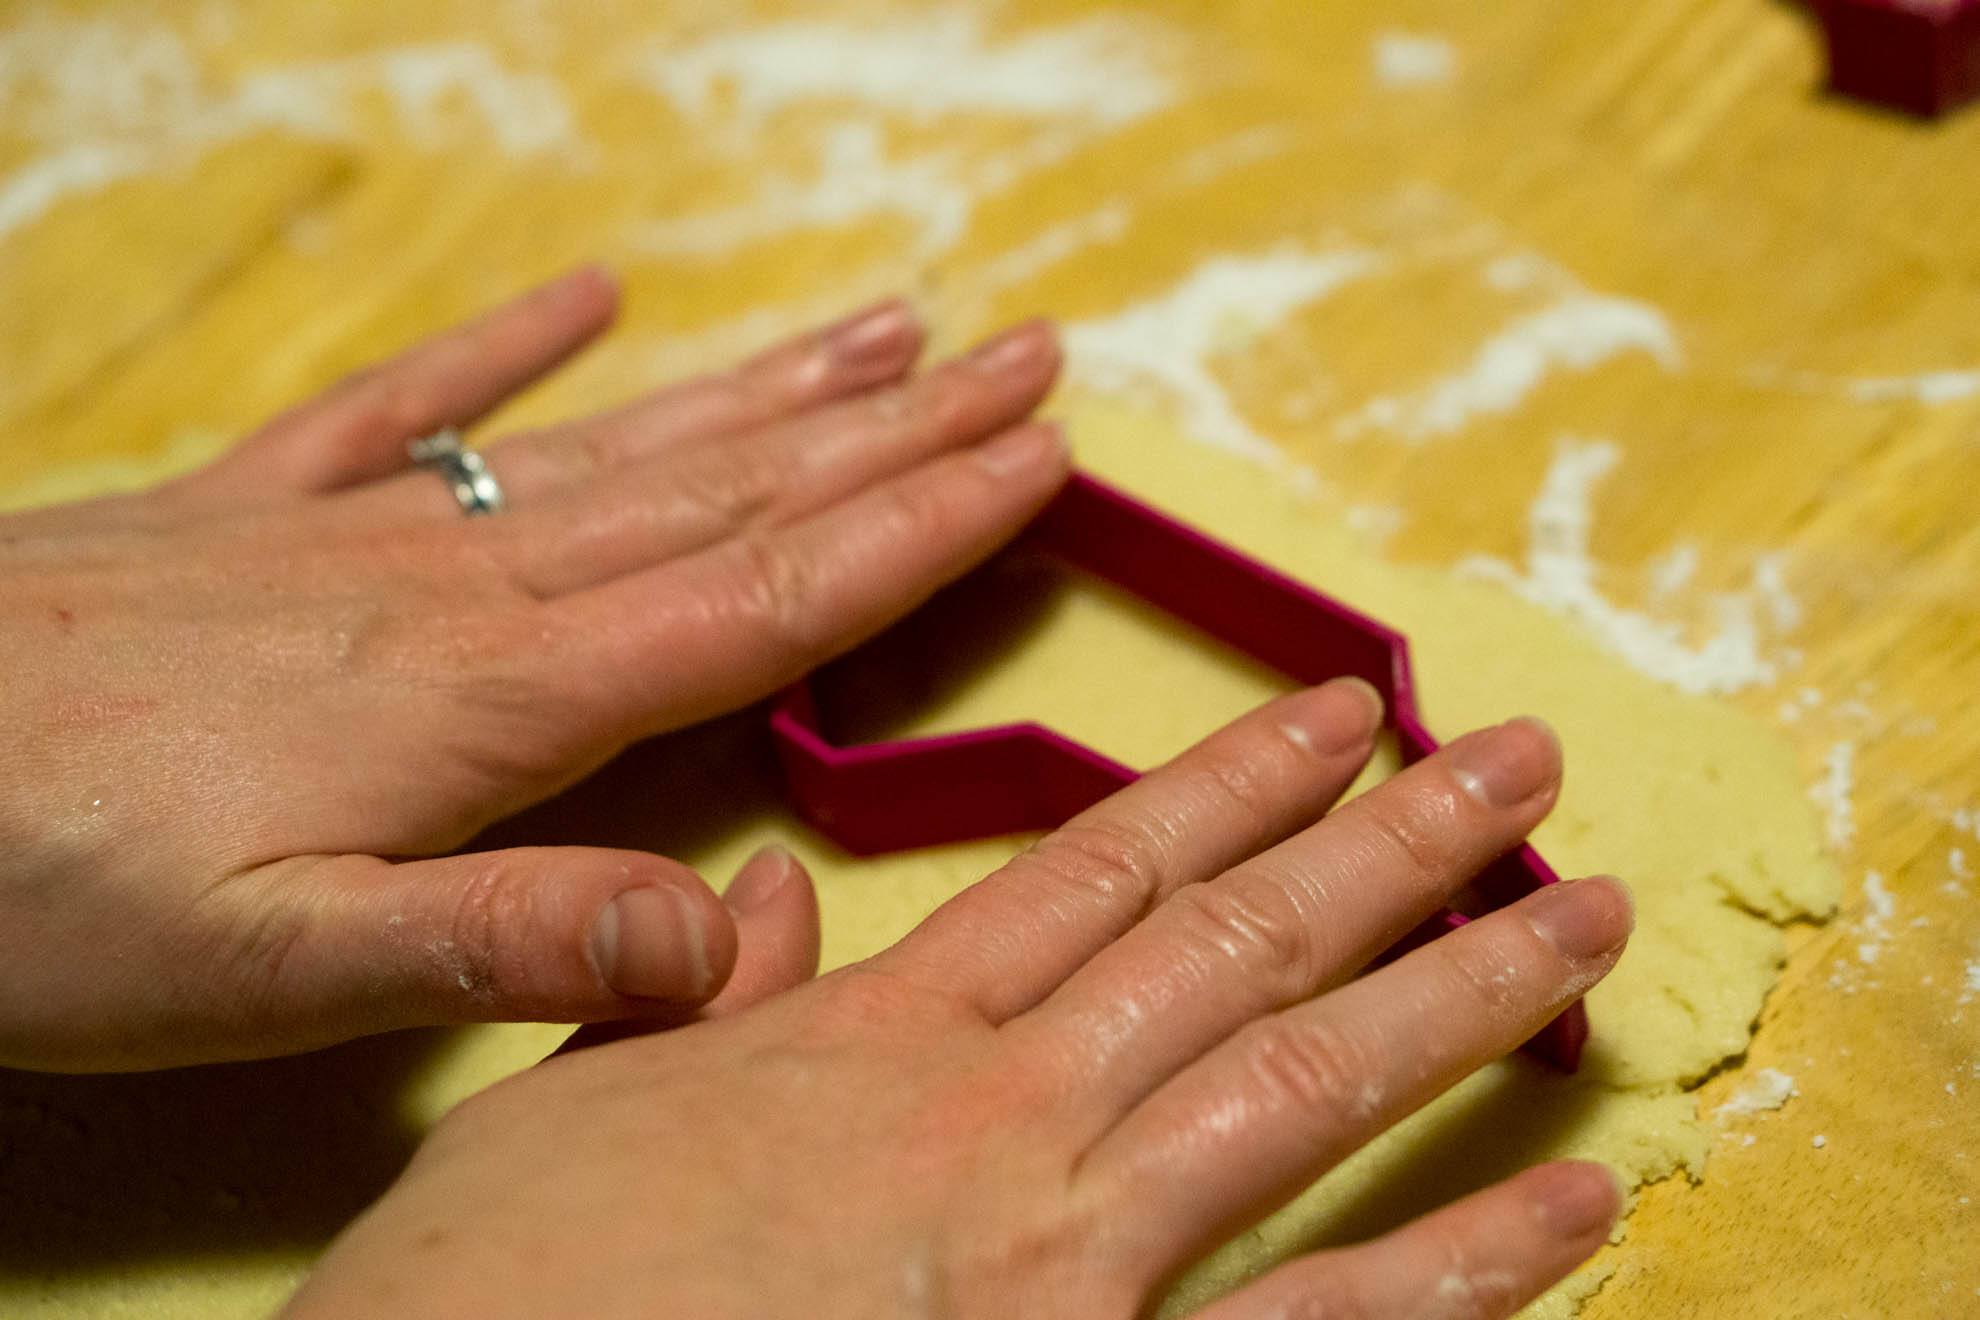
That's pretty much it! Print out your cutters, cut out your dough (something like gingerbread or sugar cookies work best as it doesn't shift as much during baking), and enjoy your custom tailored cookies.
We don't just build great products, we help build great companies. Let's Chat.


